
Replacing Your Lawn Mower Starter Cord
- Key Takeaways
- Identify the Type of Pull Cord You Need
- Gather Tools and Materials
- Safety First: Preparing Your Mower
- Accessing the Starter Housing
- Removing the Old Pull Cord
- Rewinding the Pulley Spring
- Installing the New Pull Cord
- Reassembling Your Lawn Mower
- Testing the New Pull Cord
- DIY vs. Hiring a Professional
- Summary
- Frequently Asked Questions
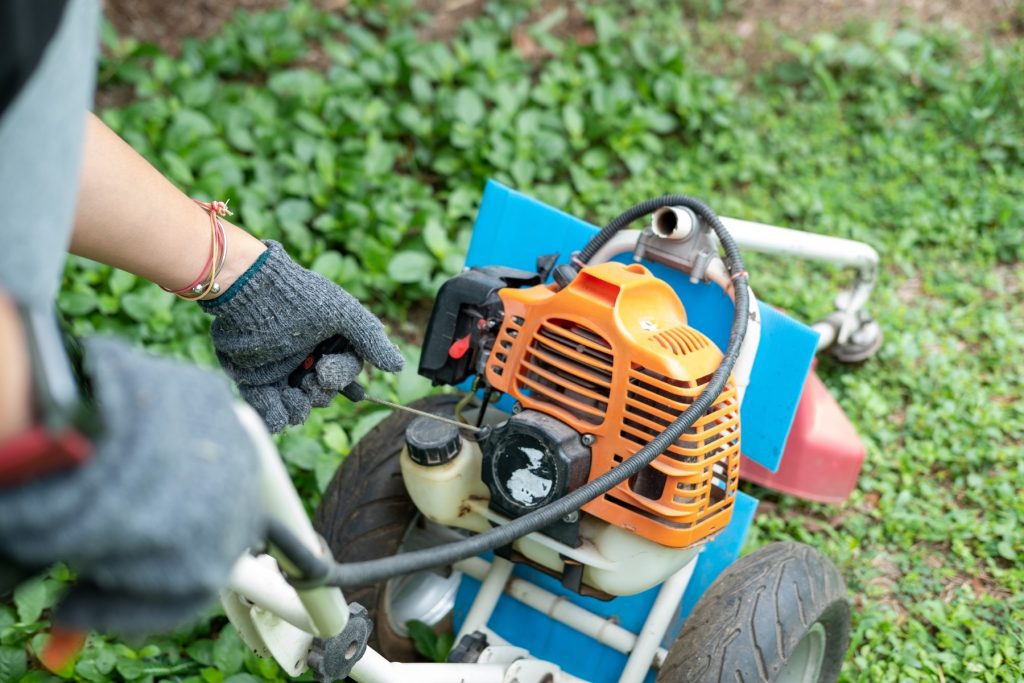
A snapped or frayed starter cord can bring your mowing plans to a sudden halt. Fortunately, learning how to change a pull string on a lawnmower isn’t as complicated as it may seem. With the right tools, a bit of patience, and this simple guide, you can have your mower running again in no time.
Understanding the mechanics behind the pull cord system can make the replacement process easier. The pull cord, also known as the starter rope, is connected to a pulley inside the starter housing. When you pull the cord, it spins the pulley, which in turn engages the engine to start. Over time, the cord can wear out due to friction, exposure to the elements, or repeated use, leading to fraying or snapping.
Replacing the pull cord yourself not only saves money but also helps you become more familiar with your lawn mower’s components. This knowledge can be handy for future maintenance tasks or troubleshooting other issues. Plus, with a few basic tools and safety precautions, the repair is straightforward and can be completed in under an hour.
Before starting, it’s important to gather all necessary materials, including a replacement cord that matches the specifications of your mower model. Using an incorrect cord can cause problems such as difficulty starting or premature wear. Additionally, always prioritise safety by disconnecting the spark plug and working on a cool engine.
By following the steps outlined in this guide, from removing the old cord to rewinding the pulley spring and installing the new rope, you’ll restore your lawn mower’s functionality efficiently. Whether you’re a seasoned DIYer or a beginner, this task is an easy fix that can keep your mower in top shape for seasons to come.
Key Takeaways
- Identify the correct pull cord type for your lawn mower to ensure a successful replacement.
- Safety first: always disconnect the spark plug and gather necessary tools before starting repairs.
- Properly rewind the pulley spring and test the new pull cord to ensure your lawn mower is back in action!
Identify the Type of Pull Cord You Need
Before replacing your lawnmower pull cord, ensure you have the correct type for a successful replacement. Different lawn mowers require specific types of pull cords, so matching both the thickness and length of the new pull cord with the original is important. Imagine spending time and effort on the repair only to find out the cord doesn’t fit. Avoid this issue by taking a few simple steps.
Bring the broken cord pull cord to your local hardware store. The staff can help you find an exact match, ensuring you get the correct cord on your first try. This saves time and avoids the hassle of multiple trips to the store.
The cost of a new lawn mower pull cord typically ranges from £8 to £15. This small investment can save you from the frustration of a non-functional mower and the expense of professional repairs. With the right mower cord in hand, proceed to the next step.
Gather Tools and Materials
With the correct pull cord, gather the necessary tools and materials for the job. Essential items include needle-nose pliers, a screwdriver, a replacement cord, a lighter, and basic tools and safety gear.
To prepare for repairing your lawn mower:
- Ensure your lawn mower is turned off and has cooled down.
- Disconnect the spark plug to prevent any accidental starts, ensuring your safety.
- Assemble all the necessary tools and materials in advance to make the repair process smoother and more efficient.
Seal off any frayed edges of the new pull cord with a lighter after cutting it. This makes threading the cord easier and prevents it from unravelling during use. With everything prepared, begin the repair process.
Safety First: Preparing Your Mower
Prioritise safety when working on your lawnmower by following these steps:
- Ensure the lawn mower is turned off.
- Allow the lawn mower to cool down.
- Wait approximately 30 minutes after using the mower before starting any maintenance to avoid burns from hot engine parts.
Disconnect the spark plug wire before beginning any repairs to prevent the mower from accidentally starting. Removing the spark plug itself adds an extra layer of safety by ensuring the engine won’t fire up.
Wear leather gloves to protect your hands from sharp tools and hot materials. Taking these steps ensures a safe and injury-free repair process.
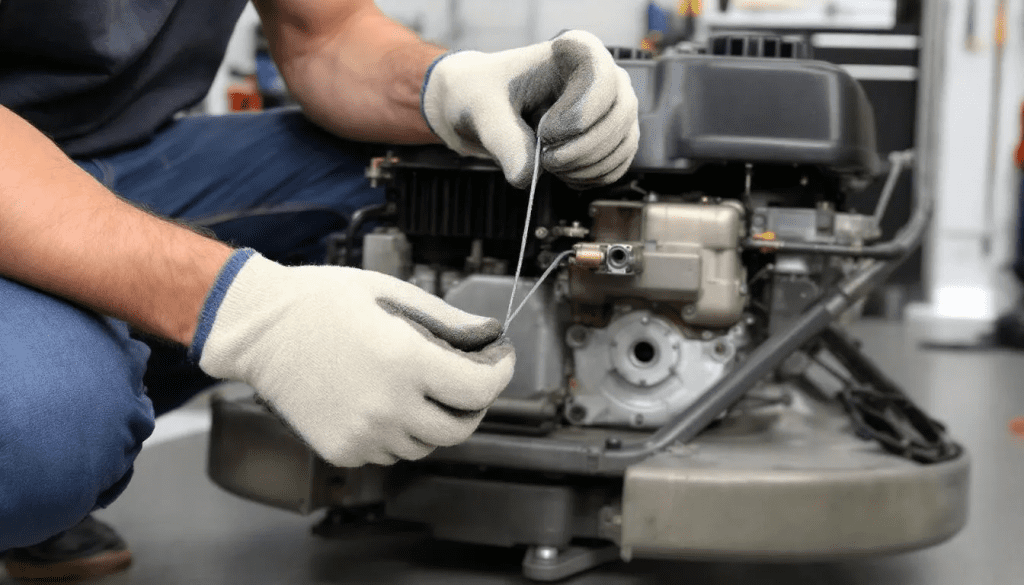
Accessing the Starter Housing
With safety measures in place, access the starter housing by following these steps:
- Identify the screws securing the starter housing around its perimeter (usually between two and four).
- Use a screwdriver to remove these screws.
- Set the screws aside in a small container or on a clean rag to avoid losing them.
If the starter housing is stuck, follow these steps:
- Gently tap it with a rubber mallet to loosen.
- Remove the screws and detach the housing.
- Clean any debris like grass, twigs, or dirt from around the starter housing.
This ensures smoother reassembly later on.
To work with the recoil spring assembly and pull cord:
- Remove the plastic cap, if applicable, to reveal the rewind assembly.
- Properly align the recoil assembly with the starter housing before reassembly to ensure the cord’s functionality.
- With the housing removed, tackle the old pull cord.
Removing the Old Pull Cord
Before installing the new pull cord, follow these steps to remove the old one:
- Release any tension in the old pull cord to avoid injury.
- If the pull cord is stuck, use needle-nose pliers to extract it from the housing.
- Be patient, especially if the cord is deeply embedded or frayed.
If the old cord is frayed, you may need to cut it to remove it completely. Sometimes, the old cord may be hidden within the recoil housing; carefully pull it free to expose the starter pulley. Removing the old cord prepares you for installing the new cord.
Make sure all remnants of the old cord are removed before proceeding. This makes threading the new pull cord smoother and prevents issues with the pulley system.
Rewinding the Pulley Spring
Rewinding the pulley spring is a crucial step in the repair process. Follow these steps:
- Twist the rope pulley in the direction it moves when pulling the starter cable.
- Continue twisting until the pulley is securely tight.
- As you wind the pulley, note that increasing resistance indicates you are turning it the correct way.
Continue twisting until the pulley spring is tightly wound. Properly winding the spring is vital for the lawn mower’s starting mechanism to work efficiently.
Properly rewinding the pulley spring sets the foundation for a successful installation of the new pull cord. This step requires precision and patience but pays off in the long run.
Installing the New Pull Cord
With the pulley spring rewound, install the new pull cord. Melt one end of the new pull cord with a lighter to make threading easier. This prevents fraying and simplifies threading.
Feed one end of the new pull cord through the hole in the recoil housing until it emerges from the other side. Leave enough length to thread through the starter housing and maintain tension. Tie a knot to secure the new pull cord after threading it through the holes, ensuring it stays in place.
Attach the free end of the new pull cord to the T-Handle and secure it with a simple overhand knot. This completes the installation, making your lawn mower ready for reassembly.
Reassembling Your Lawn Mower
Reassembling your lawnmower is the final step before testing.
After aligning the holes, re-bolt the starter housing and cap it. With everything in place, test your lawnmower.
Testing the New Pull Cord
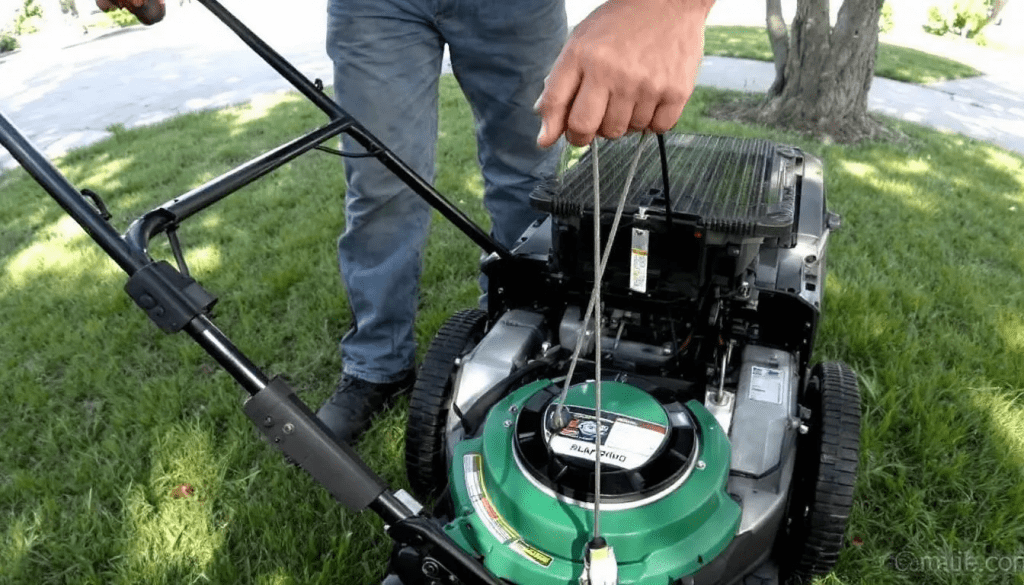
Testing the new pull cord ensures everything is in working order. Follow these steps:
- Give the pull cord a few pulls to check its functionality.
- Ensure the pull cord retracts smoothly without resistance or feels resistance from sticking.
- Double-check that all screws are tightened to prevent loosening during operation.
If everything feels right, pull the cord several times to confirm the repair. If you encounter issues during testing, recheck each step to ensure proper assembly. Proper testing ensures a successful repair.
DIY vs. Hiring a Professional
Choosing between a DIY repair and hiring a professional depends on your comfort level and expertise. DIY repairs can enhance your understanding of lawn mower mechanics and provide a satisfying sense of accomplishment. Completing the repair yourself can often be quicker than waiting for a professional.
However, hiring a professional can introduce additional costs, such as labour fees, which can add up quickly.
Consider your budget, time, and confidence in your repair skills when deciding. Both options have their merits, and the choice may vary depending on your individual circumstances.
Summary
Replacing your lawn mower’s pull cord might seem daunting, but with the right tools and guidance, it can be a straightforward and rewarding task. By following these steps, you’ll gain valuable skills and save money on professional repairs. Now, get ready to tackle your lawn with a fully functional mower!
Many homeowners shy away from this repair because they assume it requires specialised knowledge or expensive tools. However, the process primarily involves careful disassembly, patience, and attention to detail rather than advanced mechanical skills. Once you become familiar with the components inside the starter housing, such as the rope pulley and rewind spring, the task becomes much more manageable.
It’s also worth noting that regularly inspecting your lawn mower’s pull cord for signs of wear can prevent unexpected breakdowns. Replacing a frayed or worn cord before it snaps can save you time and effort in the long run. Additionally, understanding how to properly wind the pulley spring and secure the new rope with a tight knot ensures your mower starts smoothly every time.
By taking on this repair yourself, you not only extend the life of your petrol lawnmower but also gain confidence in handling other small engine maintenance tasks. Plus, knowing how to change a pull string on a lawn mower is a handy skill that can come in useful for other outdoor equipment with similar starter systems.
Remember, always follow safety precautions such as disconnecting the spark plug and working on a cooled engine. With these tips and the step-by-step instructions, you’ll have your mower back in action quickly and efficiently.


